How To Dry Flowers At Home (05 Methods)
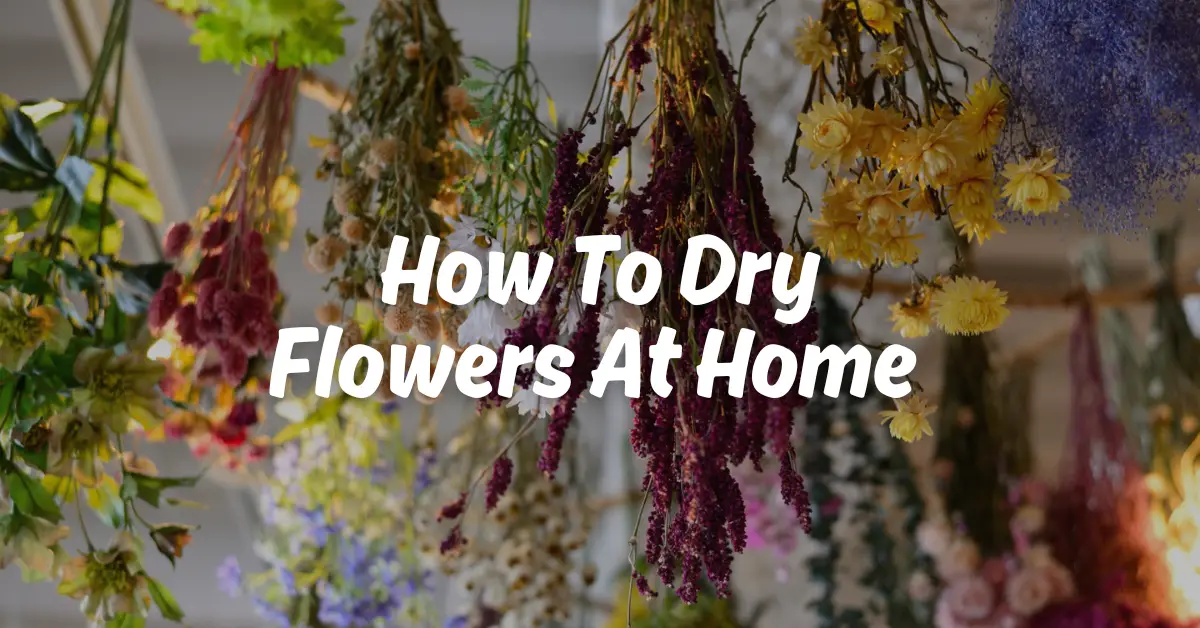
Fresh flowers make any space feel alive but their beauty often fades too quickly. I have always felt it is a little sad to throw away flowers that still hold memories. Maybe they came from your garden. Maybe someone gifted them. Maybe you grew them with care and watched them bloom day by day. If throwing them feels tragic. You can dry them and keep them for months, even years.
Drying flowers is simple. You just need patience and the right method. I still remember the first time I dried roses from my garden. I was not sure they would turn out well, but after a few weeks, they looked beautiful and natural. Since then, I dry flowers every season to save special blooms.
You can use dried flowers in many ways. They look lovely in vases, frames, wreaths, and craft projects. They also bring a soft, vintage charm to your home.
In this guide, you will learn easy methods ‘how to dry flowers at home‘. I will walk you through what works, what to avoid and how you can keep your dried flowers looking their best.
What Are Dried Flowers?
Dried flowers are real flowers that have had their moisture removed while keeping their shape and color. Simply, we preserve their natural beauty instead of letting them wilt and decay. When water leaves the petals and stems slowly, the flower becomes firm and long lasting.
Dried flowers bring long-lasting beauty, color, and texture to homes through bouquets, wreaths, crafts, and arrangements.
Best Flowers for Drying
Not all flowers dry the same way. Some hold their shape very well, while others collapse or turn mushy.Many gardeners grow specific varieties just for drying, as they hold up well and add charm to seasonal decor.
Some of the best flowers for drying include classics that are easy to grow and preserve. Strawflowers (also called helichrysum or everlasting daisies). They come in bright, cheerful colors like pink, red, yellow, and orange, and retain their papery petals perfectly when hung upside down to dry.
Statice (sea lavender) is another favorite for its clusters of tiny, colorful blooms in shades of purple, blue, pink, and white; it adds great filler texture and dries reliably without losing much color.
Gomphrena (globe amaranth) offers round, button-like heads in vivid pinks, purples, and whites that stay bold and globe-shaped after drying—perfect for adding pops of color to wreaths or mixed bouquets.
Celosia, with its feathery plumes or crested cockscomb forms, brings unique texture and rich reds, pinks, or yellows that hold up beautifully in arrangements. Larkspur provides tall, spiky elegance with purple, blue, or pink tones, making it ideal for height in dried displays.
Hydrangeas stand out for their large, showy heads that dry naturally on the bush or in a vase with a bit of water, turning antique shades of soft pink, blue, green, or cream. They create stunning, romantic focal points in big bouquets or simple vases. Lavender is a must for its wonderful fragrance that lingers, plus pretty purple spikes that work wonderfully in sachets, wreaths, or hanging bunches.
Other strong choices include bunny tails (soft, fluffy grass heads for whimsy), craspedia (billy buttons with golden balls), amaranth (dangling tassels in deep reds), and yarrow for flat, clustered tops in warm tones. Even some roses or peonies can dry well if picked at the right stage, though they may need silica gel for best shape preservation.
When to Cut Flowers for Drying
Harvest when the blooms have good moisture and structure but aren’t too full of water that they’ll shrivel or mold during drying. Always pick on a dry day, in the early morning after any dew has evaporated but before the hot sun hits hard.
For most everlasting flowers like strawflowers, statice, gomphrena (globe amaranth), and celosia, cut them just as they start opening or when partially open, not fully bloomed. Strawflowers do best when the outer petals begin to show color but the center is still closed or just cracking; they’ll continue to open nicely as they dry.
Gomphrena and celosia should be harvested when the heads are about one-third to fully open (all blooms on a stem showing), but before they start fading or going to seed. Picking too early can cause wilting stems, while too late leads to color loss or petal drop. These types hold their vibrant hues well with this timing.
Lavender is straightforward. Harvest when the buds are showing good color but before they fully open, or just as the first few florets bloom. Cut the stems in the morning for the strongest scent and best preservation. Hang small bunches upside down right away; the flowers dry quickly and retain their fragrance for sachets or wreaths.
Read: Which Lavender is Best (English Lavender vs French Lavender)
Hydrangeas are a bit different. Many people let them dry naturally on the bush in late summer to fall, when the blooms turn papery, feel leathery, and antique to soft greens, pinks, or blues (often mid- to late season after the initial bright phase).
If cutting fresh, wait until the flower heads have a papery texture and the tiny inner flowers emerge.
Other popular drying flowers like yarrow, larkspur, or amaranth follow similar rules: cut in the morning when blooms are mature but not overripe.
For roses, the best time to cut is when the buds are just opening or partially open, still holding their nice round shape but not fully bloomed. Avoid picking fully open roses, as the heavy petals can wilt and brown during drying. Cut in the early morning on a dry day after dew evaporates, remove most or all leaves and strip any thorns.
Read: How To Grow Roses
Then hang them upside down in small bunches in a warm, dark, airy spot for 2–3 weeks. Many gardeners note that air-drying suits this early stage perfectly, resulting in muted, vintage tones that look beautiful in wreaths or bouquets. For the fullest preservation of shape and color, some prefer silica gel drying instead.
For the Peonies, harvest them when the petals are just starting to unfurl—around the point where the bud feels soft and squishy like a marshmallow when gently squeezed, but not fully open. Pick in the early morning on a dry day, cut stems to your preferred length, remove excess foliage, and hang upside down in a warm, dark place to air-dry for a couple of weeks.
How To Dry Flowers (Methods)
Air Drying Flowers (Method 01)

Air drying is the most natural and widely used method. You simply gather small bunches of flowers and tie the stems together (Tie stems with a rubber band). Then hang them (Use a paperclip or hook to hang bunches) upside down in a dry, dark, well-ventilated place.
Avoid sunlight because it can fade the colors. I usually use a spare room or a shaded corner where air moves freely. After two to four weeks, the flowers become dry and crisp. This method works especially well for sturdy garden flowers.
Pressing Flowers (Method 02)
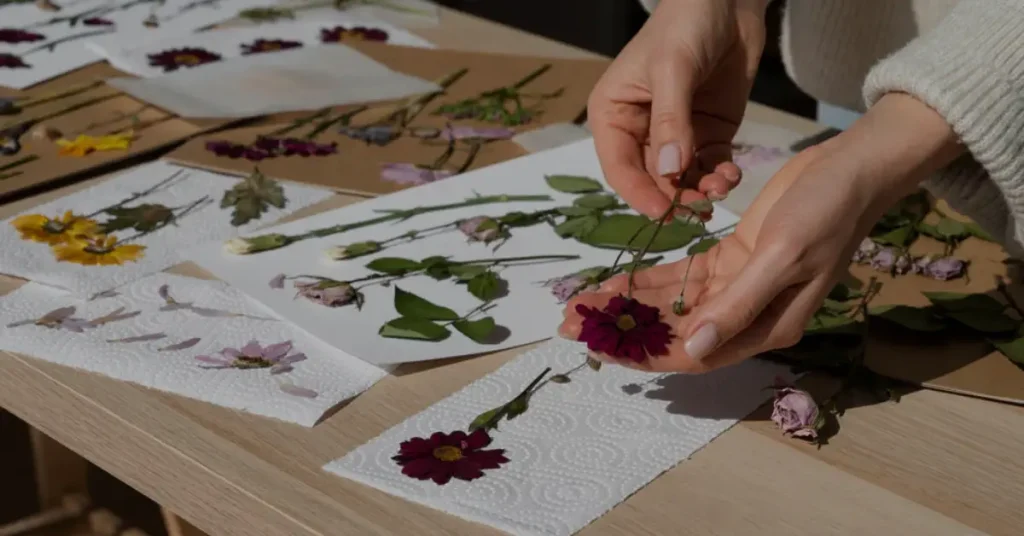
Pressing flowers is perfect if you want flat flowers for art or crafts. Place the blooms between sheets of paper and press them inside a heavy book.
I like this method when saving delicate flowers for handmade cards or framed pieces. After a couple of weeks, the flowers become thin and beautifully preserved.
Drying Flowers with Silica Gel (Method 03)
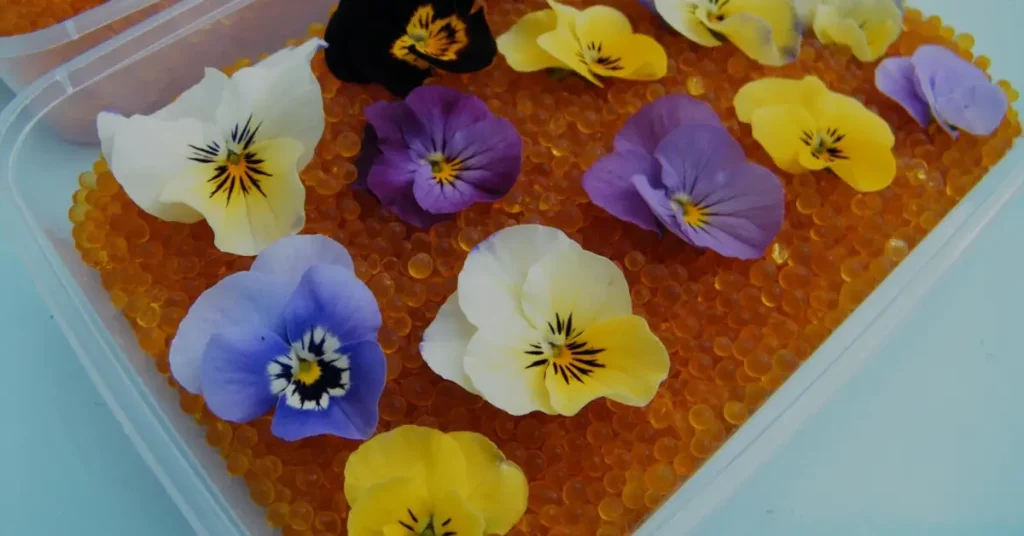
Silica gel helps flowers keep their shape and color better than air drying. The process involves burying flowers in an airtight container with silica gel for 3–7 days. It is ideal for delicate blooms like roses, dahlias, and peonies.
I use this method when I want detailed flowers to look almost fresh even after drying. It takes only a few days, which is much faster than hanging them.
Oven Drying (Method 04)
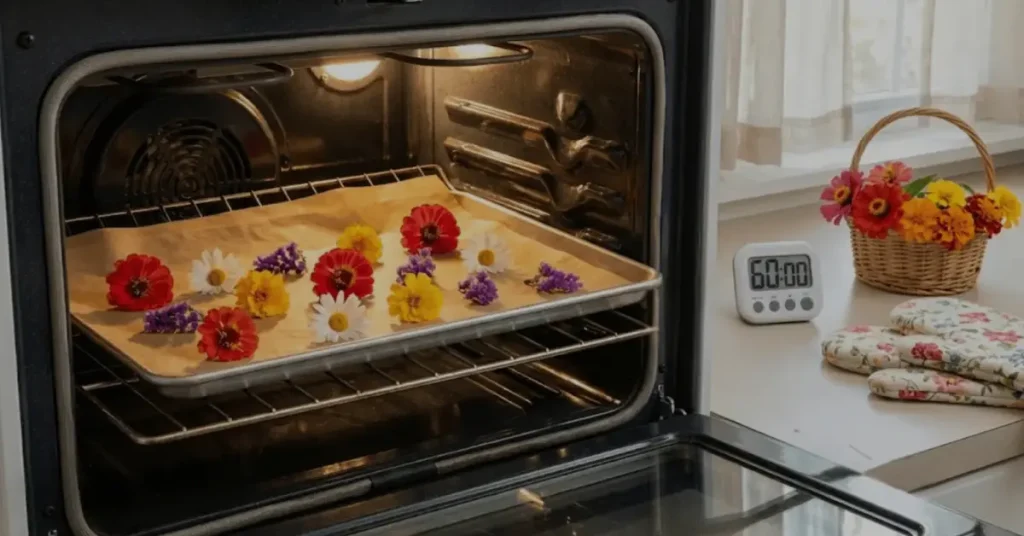
Oven drying is a quicker method but requires attention. Place flowers on a tray and keep the oven at a very low temperature (ideally at 150-200°F or 93°C).
You must watch them closely because too much heat can damage petals. I only use this method when I need dried flowers quickly. It preserves method in 1-3 hours.
How to Dry Flowers In a Microwave Oven (Method 05)
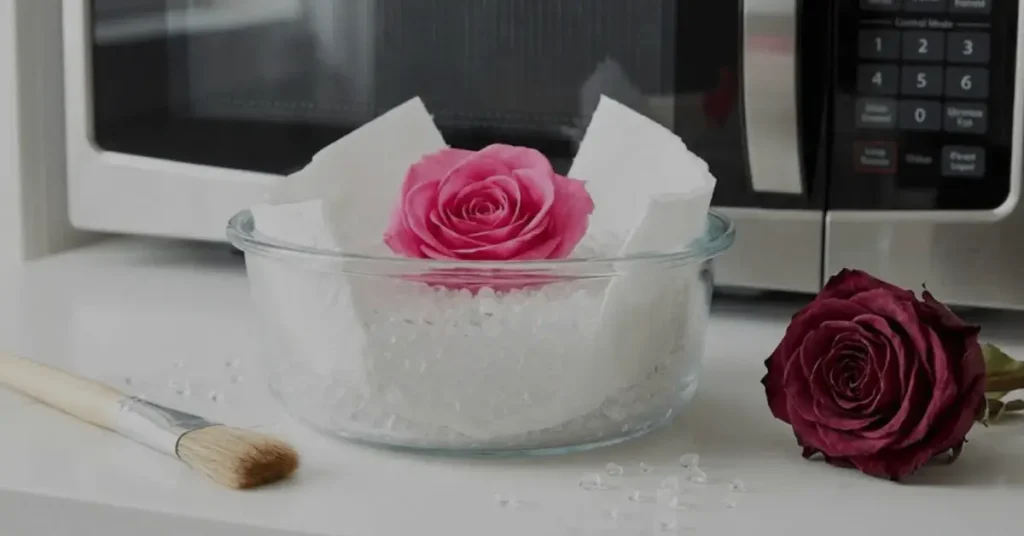
Drying flowers in a microwave is an exceptionally fast method to preserve color and shape, taking minutes rather than weeks.
- Arrange your flowers face-down on a folded paper towel (or absorbent cotton rag) on a microwave-safe plate or dish. Flatten petals gently with your fingers so they lie smooth—how they look now is how they’ll dry. Leave space between them if doing multiples.
- Cover with another layer of paper towel (or fold the rag over). This absorbs moisture as it steams out.
- Place a heavy microwave-safe item on top—like a ceramic plate, glass dish, or book-weight—to press everything flat and stop petals from lifting.
- Microwave on medium or half power (around 50%) in short bursts: start with 30–90 seconds depending on your microwave’s strength. Check after the first interval—the flowers should feel papery and dry, not moist or limp.
- If still damp, add more 30-second increments (replace soggy paper towels if needed to avoid steaming too much). Total time is usually 1–3 minutes. Don’t overdo it, or petals can scorch or turn brown.
- Let them cool completely on the plate—they firm up more as they cool. Store flat between wax paper or in a book until ready to use.
For better color retention with delicate or fuller blooms, some use silica gel (pour a layer in a microwave-safe container, bury flowers, cover with more gel, and microwave in short bursts), but the paper towel way is easiest for beginners and gives nice flat results.
Tips to Keep Dried Flowers Looking Beautiful
With good care, dried flowers can stay colorful, dust-free, and charming for months or even years in your home decor.
- Keep them out of direct sunlight. Sunlight causes colors to fade quickly over time. Indirect or low light helps preserve those pretty hues.
- Choose a cool, dry spot. Store or display dried flowers in a room with low humidity, away from bathrooms, kitchens, heaters, vents, or damp areas. Moisture can make them soft, moldy, or cause petals to drop.
- Dust gently and regularly. Use a soft brush (like a makeup brush or feather duster), a cool hairdryer on low or no heat setting from a distance, or compressed air to remove dust without damaging fragile petals.
- Use a protective spray. Lightly mist with unscented hairspray, floral sealant, or a UV-protectant spray made for dried flowers.
- Handle with care. Move bouquets or wreaths gently to avoid breaking brittle stems or petals. If arranging in a vase, use one without water and add silica gel packets nearby if storing long-term to absorb any stray moisture.
- Store properly when not on display. Keep extra dried flowers or arrangements in airtight containers, zip-top bags, or boxes in a cool, dark place. This protects from dust, pests, light, and humidity.
- Refresh as needed. If colors start fading or they look tired, trim damaged parts, rearrange, or move to a shadier spot.
Creative Ways to Use Dried Flowers
Dried flowers are more than decoration. You can arrange them in vases for a rustic look or create wreaths and wall art. They work beautifully in handmade gifts and seasonal displays.
I often mix dried flowers with natural elements like branches or grasses to create simple arrangements that last all year.