10 African Violet Care Tips To Keep Your Plant Blooming
African violets (Saintpaulia ionantha) are small flowering houseplants that come from the tropical mountains of Tanzania and Kenya in East Africa. They were first found in 1892 by a German colonial officer named Walter von Saint Paul-Illaire which is where the scientific name “Saintpaulia” comes from.
They grow naturally in rocky, shaded spots near streams, which tells us a lot about what they need: indirect light, moisture in the air, and good drainage.
Today, there are over 16,000 registered varieties of African violets. They come in purple, pink, white, blue, red, and even two-colored blooms. Some have ruffled petals, some have star-shaped flowers, and some have leaves that are shiny green on top and red underneath.
With the right care, African violets can bloom 10 to 12 months of the year.
I have been growing African violets for over a decade. I have killed a few, learned a lot, and now I can honestly say these little plants are not as tricky as people think. Once you understand what they like and how to overcome problems, they will reward you with blooms almost all year long.
This guide covers everything from light and water to soil, pests, and propagation. Let’s continue reading african violet care.
Plant Basics
| Category | Details |
|---|---|
| Common Name | African Violet |
| Scientific Name | Saintpaulia ionantha (now often classified under Streptocarpus) |
| Plant Type | Flowering houseplant |
| Native Region | East Africa (Tanzania, Kenya) |
| Light Needs | Bright, indirect light (avoid direct sun) |
| Watering | Keep soil lightly moist; water from bottom to avoid wet leaves |
| Humidity | Moderate to high (50–60% ideal) |
| Temperature | 18–24°C (65–75°F); avoid cold drafts |
| USDA Hardiness Zones | 11–12 (grown indoors in most regions) |
| Soil Type | Light, well-draining mix |
| Fertilizer | Balanced liquid fertilizer every 2–4 weeks (diluted) |
| Flower Colors | Purple, pink, white, blue (also bi-color) |
| Bloom Time | Can bloom year-round with proper care |
| Propagation | Leaf cuttings |
| Common Problems | Root rot (overwatering), leaf spots (water on leaves), pests like aphids |
| Pet Safety | Non-toxic to cats and dogs |
How to Care for African Violets
- Soil
- Sunlight
- Temperature and Humidity
- Watering
- Fertilizers
- Right Pots
- Pruning
- No Blooms
- Common Problems
- Propagation
Soil for African Violet
African violets need soil that drains well and lets air reach the roots. Regular garden soil or heavy potting mix will suffocate them.
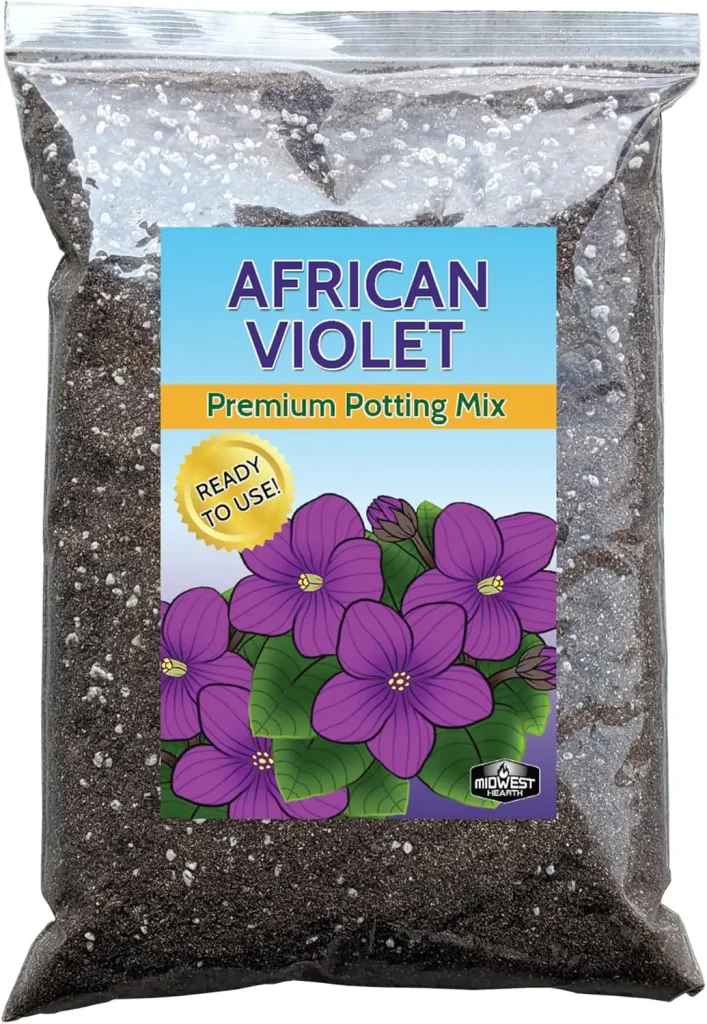
Best Soil Mix
Look for a soil mix made specifically for African violets. You can also make your own:
- 1 part perlite (white, chunky pieces that help with drainage)
- 1 part vermiculite (helps hold just enough moisture)
- 2 parts peat moss or coco coir (the main base)
This mix holds a little moisture but drains well and stays light and fluffy.
What to Avoid
- Heavy, dense potting soil
- Soil with a lot of bark or wood chunks
- Garden soil (too heavy and carries disease)
Sunlight
African Violet hates direct sunlight. If the sun shines right on the leaves, they will get yellow or brown spots. The leaves may even curl downward like they are trying to hide.
Direct sun burns leaves, while insufficient light prevents flowering. Keep them a few feet away from bright south- or west-facing windows. An east- or north-facing window gives them the best lighting.
How to Know If Your Plant Is Getting the Right Light.
If you observe thin, dark green leaves and leggy stems, the plant is getting too little light and if you see light green or bleached leaves, it indicates too much light.
If your home does not have good natural light, use a fluorescent or LED grow light placed 12 to 15 inches above the plant. Keep the light on for 12 to 16 hours a day, then give the plant darkness at night.
Temperature and Humidity
Keep your plant somewhere between 65°F and 80°F (18°C to 27°C). They can handle a little warmer or cooler, but not for long.
Things to avoid:
- Cold drafts from windows in winter
- Hot, dry air from heating vents
- Air conditioning blowing directly on the plant
- Temperatures below 55°F (13°C), this can damage the plant
Humidity
African violets like humidity between 40% and 60%. Most homes are in this range, especially in warmer months.
Ways to increase humidity:
- Place a tray of pebbles filled with water under (not touching) the pot
- Use a small humidifier nearby
- Mist the air around the plant, but never mist the leaves directly
Watering
This is where most people go wrong and also where getting it right makes the biggest difference.
African violets do not like to be soaked. But they also do not like to completely dry out. The goal is to keep the soil slightly moist, not wet, not bone dry.
The Best Way to Water: Bottom Watering
Bottom watering is when you pour water into the saucer under the pot, not on top of the soil. The plant drinks up what it needs from the bottom.
How to do it:
- Fill the saucer or a shallow dish with room-temperature water.
- Set your African violet pot in the water.
- Let it sit for 20 to 30 minutes.
- Remove the pot and let any extra water drain out.
- Empty the saucer, never let the pot sit in water for hours.
Can I Water from the Top?
Yes, but be careful. Water gently around the edges of the pot, not in the center. Never get water on the leaves or the fuzzy center of the plant. Use a small watering can with a long spout.
How Often Should I Water?
A good rule is to check the soil every 2 to 3 days. Water only when the top half-inch of soil feels dry to your finger.
In general, most African violets need water once a week, sometimes less in winter.
Fertilizers
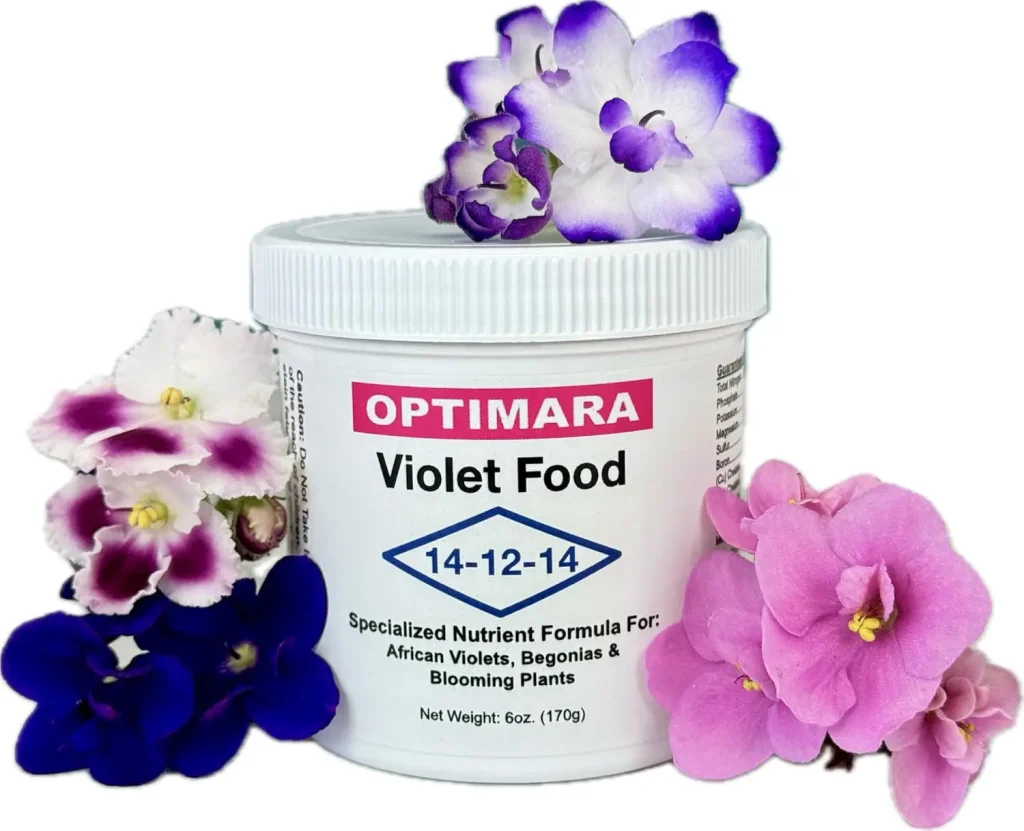
Use a fertilizer made for African violets, or one that is high in phosphorus (the middle number on the fertilizer label). Phosphorus helps plants produce flowers.
A good ratio to look for: 14-12-14 or similar. Avoid fertilizers with very high nitrogen (the first number), because nitrogen makes lots of leaves but fewer flowers.
How Often to Feed?
During the growing season (spring through fall), feed your plant once every 2 weeks. In winter, cut back to once a month.
Always water your plant before fertilizing. Putting fertilizer on dry roots can burn them.
Signs of Fertilizer Problems
| Problem | Likely Cause |
|---|---|
| No blooms, lots of dark green leaves | Too much nitrogen |
| Yellow, pale leaves | Not enough fertilizer |
| Brown leaf tips | Too much fertilizer (salt buildup) |
If you see brown tips from salt buildup, flush the soil by pouring a lot of plain water through it to rinse the extra salts out.
Right Pots
African violets are not like most plants. They actually bloom better when their roots are a little crowded. A pot that is too big holds too much wet soil around the roots, which leads to rot and fewer flowers.
The golden rule: Choose a pot that is roughly one-third the diameter of the plant’s leaf spread.
Here is a simple size guide:
| Plant Leaf Spread | Recommended Pot Size |
|---|---|
| 3 inches wide | 1-inch pot |
| 6 inches wide | 2-inch pot |
| 9 inches wide | 3-inch pot |
| 12 inches wide | 4-inch pot |
| 15 inches wide | 5-inch pot |
If you are moving a plant to a bigger pot, only go up one pot size at a time, for example, from a 2-inch to a 3-inch pot. Never jump two or three sizes at once.
Pot Material: Which Type Is Right for You?
The material your pot is made from changes how fast the soil dries out.
Plastic pots hold moisture longer because they do not breathe. They are lightweight, cheap, and easy to find. If your home is dry (especially in winter with the heat running), plastic pots help the soil stay moist longer. This is the most commonly used pot type among African violet hobbyists.
Terracotta or clay pots are porous, meaning air and water can pass through the sides. This makes the soil dry out faster which is great if you tend to overwater or if your home is humid. The downside is that you may need to water more often. Also, terracotta pots can leave white crusty mineral deposits on the outside over time, this is harmless, just a little ugly.
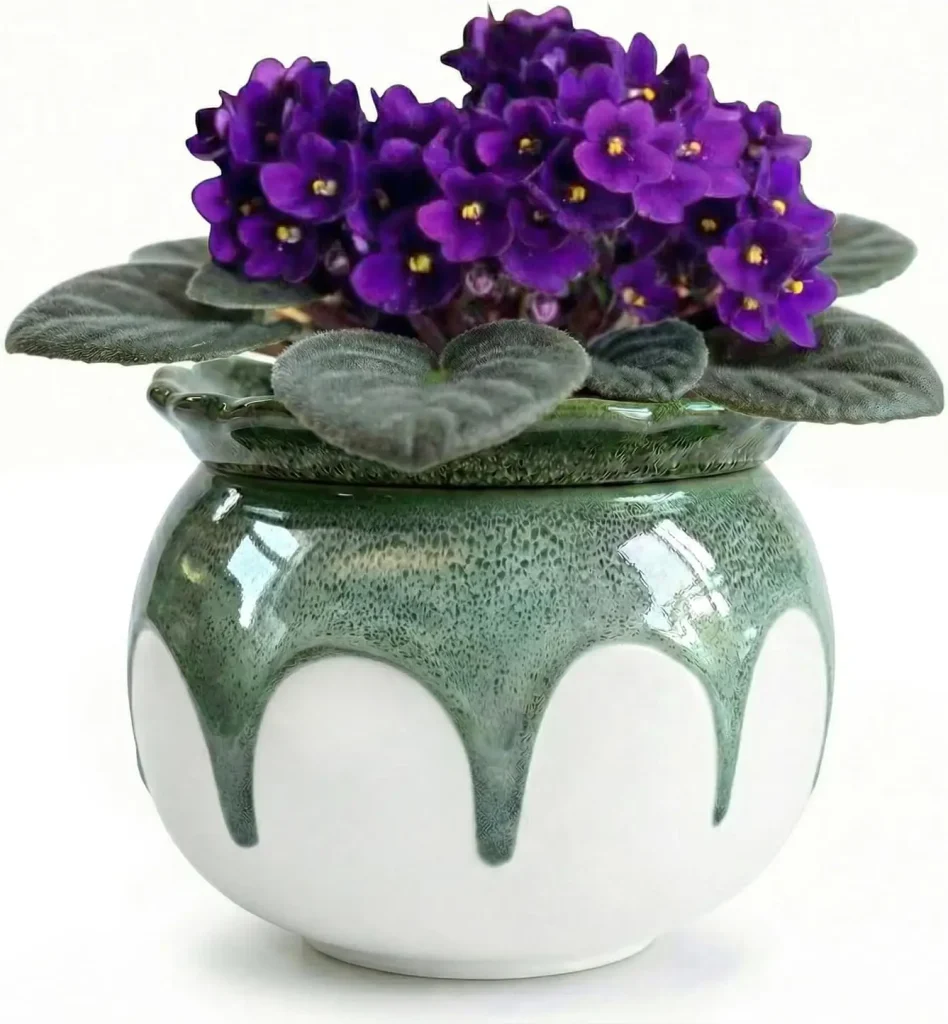
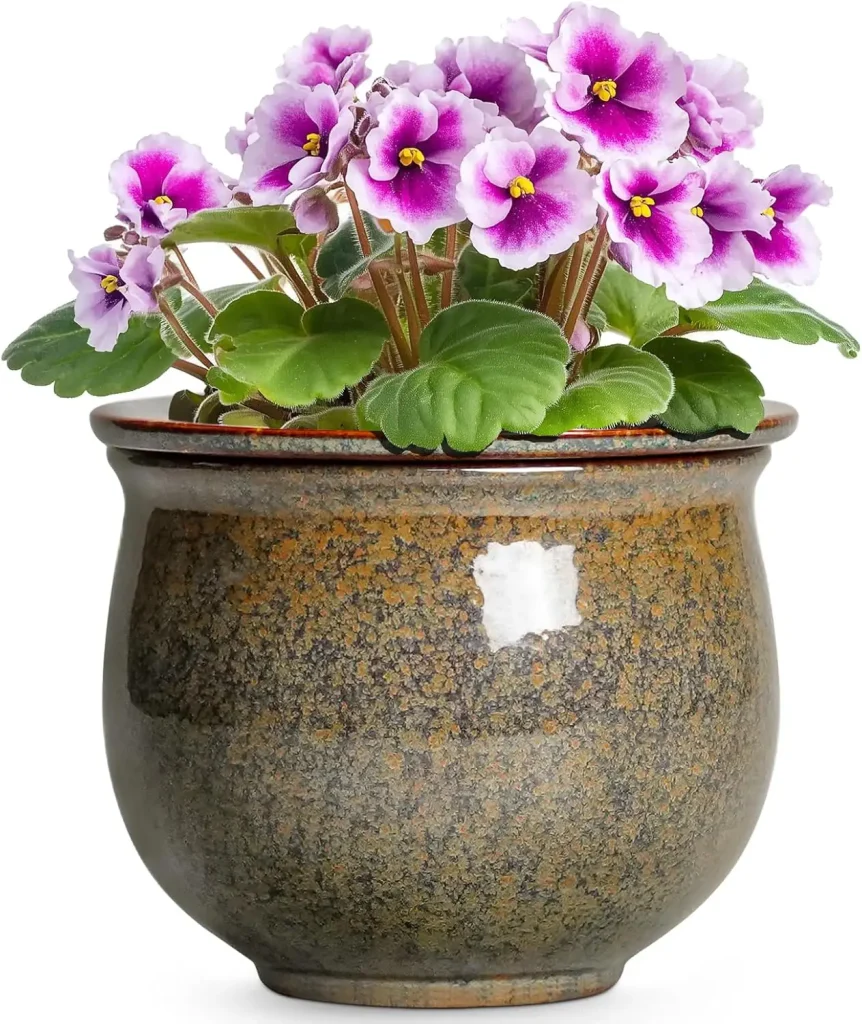
Glazed ceramic pots fall between plastic and terracotta. The glaze slows moisture loss, but not as much as plastic. They are heavier and more decorative. Great for display, but make sure they have drainage holes.
Self-watering pots are my personal favorite for African violets. These pots have two chambers, a top chamber that holds the soil and plant, and a bottom reservoir that holds water. The plant draws water up through a wick or through holes in the bottom as it needs it. This mimics bottom watering automatically and takes the guesswork out of watering frequency. Many serious African violet growers swear by these.
African violet wicking pots work on a similar idea, a cotton wick runs from the soil down into a cup of water below. The plant stays consistently moist without you having to check it every few days.
The One Rule That Cannot Be Broken: Drainage Holes
No matter what material or shape you choose, your pot must have at least one drainage hole at the bottom. Without it, water collects at the bottom of the pot, the roots sit in it, and root rot is almost guaranteed.
If you fall in love with a decorative pot that has no drainage hole, use it as a cachepot, place your African violet in a smaller plastic pot with drainage, then set that pot inside the decorative one. Just remember to empty any water that collects in the bottom of the outer pot after watering.
What to Avoid
- Pots that are too deep, Keeps unused wet soil around roots
- Pots with no drainage hole, Causes root rot
- Pots that are too large, Slows blooming and risks rot
- Dark-colored pots in a sunny spot, Can overheat roots in summer
No Blooms
This is the number one complaint I hear from African violet growers.
African violets bloom almost non-stop. If yours is not blooming, something in its environment is off. Work through this checklist one step at a time.
The most common reasons your African violet is not blooming:
| Reason | What to Look For | Fix |
|---|---|---|
| Not enough light | Leaves are dark green, stems are long and leggy | Move to a brighter spot or add a grow light |
| Too much nitrogen in fertilizer | Lots of lush green leaves but zero flowers | Switch to a high-phosphorus fertilizer (like 15-30-15) |
| Wrong fertilizer NPK ratio | Plant looks healthy but never blooms | Look for fertilizer where the middle number (phosphorus) is highest |
| Plant is rootbound | Roots coming out of drainage holes | Repot into a pot one size larger |
| Too cold | Plant near a cold window or vent | Move to a warmer spot, keep above 65°F |
| Too hot | Leaves look limp during the day | Move away from heat vents and hot south windows |
| Low humidity | Leaf edges look dry or crispy | Add a pebble tray with water or a humidifier |
| Crown rot | Center of plant looks mushy or dark | Reduce watering, improve air circulation |
| Plant needs a rest | Has been blooming for months | Sometimes plants take a short break — this is normal |
| Too many suckers | Small extra plants growing from the base | Remove all suckers so the main plant gets all the energy |
Root Rot
Cause: Overwatering or poor drainage. Signs: Wilting even when the soil is wet, mushy stems, bad smell from the soil.
Fix: Remove the plant from the pot. Cut away any black or mushy roots with clean scissors. Repot in fresh, dry soil. Reduce watering going forward.
Pruning
African violets are naturally tidy plants, but they need a little grooming to look their best and keep blooming. As soon as a flower fades and turns brown, pinch it off at the base of the stem. This tells the plant to make more flowers instead of wasting energy on old ones.
Take off any leaves that are yellow, brown, or rotting. Use clean scissors or just pinch them off with your fingers. Cut or snap the leaf stem as close to the base of the plant as you can.
African violets grow in a round rosette shape. Turn the pot a quarter turn every week so all sides get equal light. Remove any leaves that are growing awkward or disrupting the round shape.
Sometimes a small new plant (called a “sucker”) grows from the base of your African violet. If left alone, it will compete with your main plant and reduce blooming. Remove suckers while they are small by gently breaking them off. You can also pot them up to grow a new plant.
Insect Pests: How to Spot Them and What to Do
African violets can attract a handful of common pests. The good news is that healthy, well-cared-for plants are much less likely to get infested. Pests tend to go after plants that are already stressed from overwatering, poor light, or poor air circulation.
The most important rule: check your plants regularly. Turn leaves over, look at the soil, check the center of the plant. Catching pests early makes treatment much easier.
Here is a complete guide to every common pest you might encounter:
| Pest | What It Looks Like | Where to Find It | Damage It Causes | How to Treat It |
|---|---|---|---|---|
| Cyclamen Mites | Invisible to the naked eye, too tiny to see | Deep in the crown, on new leaves | New leaves look twisted, curled, stunted, or deformed; center of plant looks gnarled | Isolate plant immediately. Treat with miticide (like avid or neem oil). Badly infested plants may need to be discarded to protect other plants |
| Spider Mites | Tiny red or brown dots; fine webbing on leaves | Underside of leaves, in leaf joints | Leaves look dusty, silvery, or stippled with tiny dots; webbing visible in bad cases | Wipe leaves with damp cloth; increase humidity; spray with neem oil or insecticidal soap; repeat weekly for 3–4 weeks |
| Mealybugs | Small white cottony blobs, waxy coating | Leaf joints, underside of leaves, near roots | Sticky residue on leaves; plant looks weak and stunted; leaves may yellow | Dab each bug with a cotton swab soaked in rubbing alcohol; treat weekly; for root mealybugs, repot in fresh soil and wash roots |
| Fungus Gnats | Tiny dark flies, about 1/8 inch long | Flying around soil; larvae live in moist soil | Larvae eat young roots; plant may wilt or grow slowly; adults are just annoying | Let soil dry more between waterings; use yellow sticky traps for adults; apply Bacillus thuringiensis (Bti) or beneficial nematodes to kill larvae in soil |
| Thrips | Tiny, slender insects (yellowish or brown) | Inside flowers, on pollen | Flowers and leaves get silvery streaks or brown spots; flowers may look deformed | Remove and destroy affected flowers; spray with insecticidal soap or spinosad; treat weekly |
| Scale Insects | Small brown or tan bumps that look like part of the stem | Stems, leaf veins, undersides of leaves | Plant looks weak; sticky honeydew on surfaces; yellowing leaves | Scrape off with a soft toothbrush; treat with rubbing alcohol on cotton swab; follow up with neem oil |
| Root Mealybugs | White powdery or cottony coating on roots | In the soil, on roots, only visible when repotting | Plant wilts even with good watering; growth slows; looks sick despite proper care | Unpot the plant; wash all soil off roots; soak roots briefly in insecticidal soap solution; repot in fresh, sterile soil |
| Aphids | Tiny green, black, or yellow soft-bodied insects | New growth, undersides of leaves, flower buds | Leaves curl; sticky residue; plant growth slows | Rinse plant with lukewarm water; spray with insecticidal soap; repeat every 3–5 days |
How to Propagate African Violets
One of the most fun things about African violets is how easy they are to multiply. One healthy plant can give you dozens of new ones for free.
Leaf Cutting Method (The Most Popular Way)
- Choose a healthy, mature leaf, not too young, not too old. Pick one from the middle row of leaves.
- Cut the leaf off with a clean knife or scissors. Leave about 1 to 1.5 inches of stem attached.
- Let the cut end dry for an hour or two.
- Stick the stem into a small pot of moist African violet soil or a mix of perlite and vermiculite. Bury the stem at a 45-degree angle so the leaf faces up.
- Cover with a clear plastic bag or a plastic bottle cut in half to create a humid little greenhouse.
- Place in bright, indirect light. Do NOT put in direct sun.
- Wait. Be patient. In 4 to 8 weeks, you will see tiny baby plants (called plantlets) appear at the base of the leaf.
- When the plantlets are about 1 inch tall, carefully separate them and pot each one into its own small pot.
What to Expect
- From leaf cutting to first bloom: about 6 to 9 months
- One leaf cutting can produce 3 to 10 baby plants
- Label your cuttings if you want to keep track of varieties
I hope you liked african violet care guide and i believe it will help.